Contrast issues on a cloudy day
Oct 13 2013 | By: Jim Zuckerman

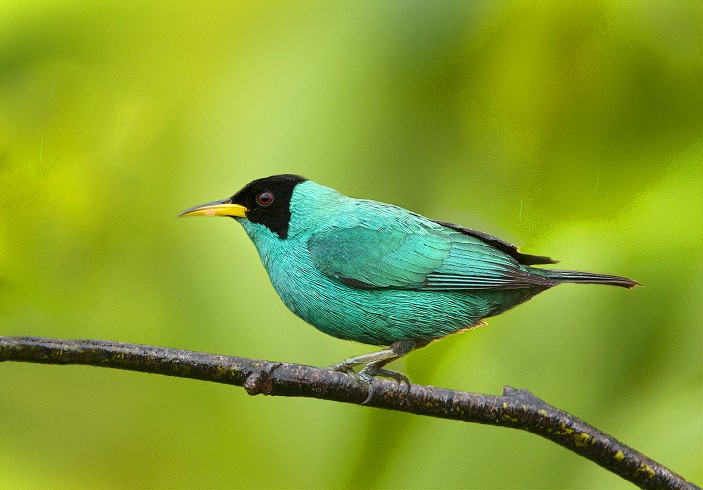
I took this picture of a green honey creeper on my last photo tour to Costa Rica. Even though the focus of the trip was on hummingbirds, there are so many other stunning species of birds everywhere that it's impossible to have down time. There is just too much to see and capture.
The lighting on this day was overcast, thus the light was very soft. However, the top of the bird was receiving direct skylight while the underside was darker. Due to the limitations of a digital sensor compared to the sophistication of our eye/brain combination, contrast was somewhat of a problem even on this cloudy day such that the bottom portion of the honey creeper was too dark. You need to know how to deal with contrast in post-processing. In this instance, I used the 'shadows' slider in Adobe Camera Raw, but that wasn't enough. Therefore, here are the steps I used to even out the exposure:
1. Make a duplicate layer, Command/Ctrl J.
2. Choose the 'screen' blend mode from the submenu in the layers palette.
3. Make a layer mask with Layer > layer mask > reveal all.
4. With the foreground/background color boxes black/white, respectively, use the brush tool to brush away the areas of the image that are too light. The shadows will be lightened, and the rest of the floating layer will be erased so the bird will look evenly exposed.
