Oct 23 2013 | By: Jim Zuckerman

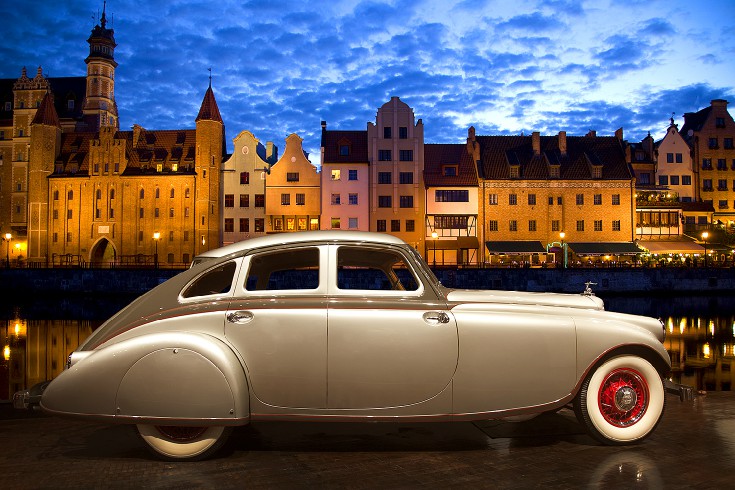
I photographed this 1933 Pierce-Arrow automobile in a museum, and my white balance was set to tungsten due to the interior illumination. That produced a clean, white light with no color bias. When I replaced the background with this dusk shot of Gdansk, Poland, I realized that the lighting didn't match. The warm tones of the lights on the buildings didn't look right with the much cooler tones on the car. So, I opened Image > adjustments > color balance in Photoshop CC, and I added yellow and red using the sliders in the dialog box. The car was on a separate layer, so it was easy to tweak the color exactly where I wanted to make a change.
When you choose images to put together, always be cognizant of the lighting. If it doesn't match, the resulting picture will not look quite right.